Few issues cause as much frustration in painting projects as paint that fails for “no obvious reason”.
Walls were cleaned.
The paint was premium.
Application looked perfect.
And yet – within weeks or months – blistering, peeling, bubbling, or mould reappears.
In the vast majority of these cases, moisture was the real culprit.
This article forms part of the Ask the Experts – Surface Preparation Series, developed for the Paint Club and Plascon Paint Expert ecosystem. It builds directly on Surface Preparation Fundamentals and addresses one of the most misunderstood – and underestimated – causes of coating failure in South African conditions.
If surface preparation is the foundation of paint performance, moisture diagnosis is the structural engineer.
Why Moisture Is the Leading Cause of Paint Failure
Paint systems are designed to perform on dry, stable substrates. When moisture is present – either within the surface or migrating through it – coatings are placed under constant stress.
Moisture-related failures include:
- Blistering and bubbling
- Peeling and flaking
- Efflorescence bleeding through paint
- Persistent mould growth
- Patchy sheen and uneven finish
- Alkali burn on fresh plaster
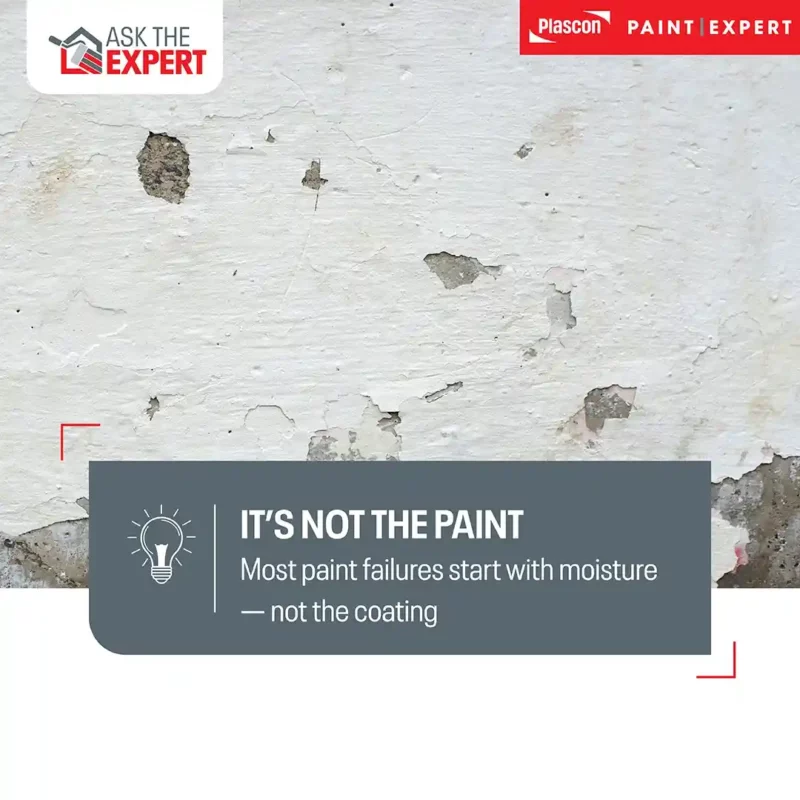
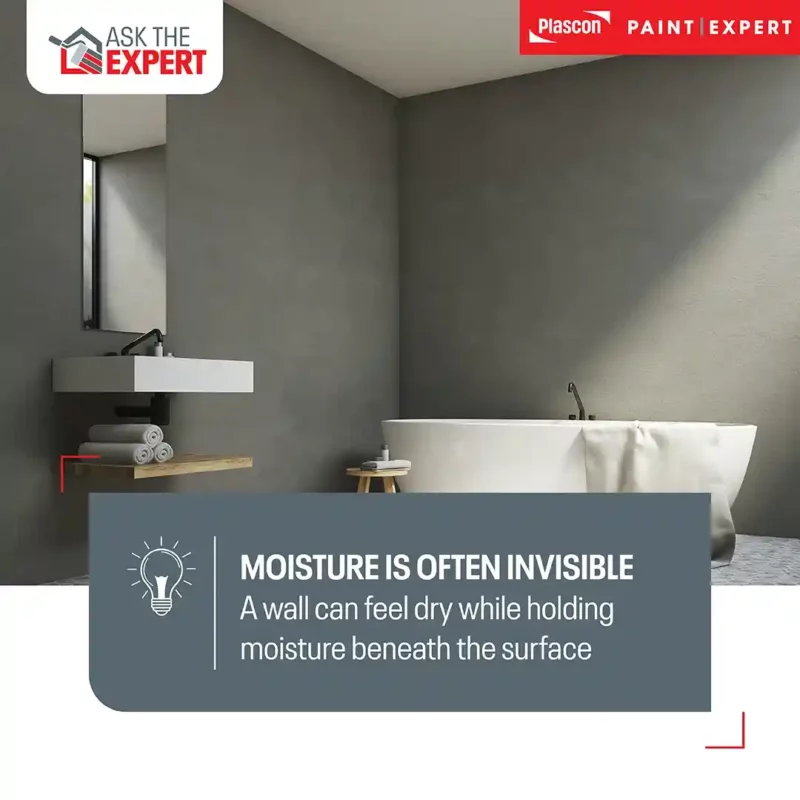
What makes moisture especially problematic is that it is often invisible at the time of painting.
A wall can feel dry to the touch while still holding moisture beneath the surface, particularly in masonry and plaster substrates.
Understanding Moisture in Building Substrates
Moisture Is Not a Single Problem
“Damp” is often treated as a single issue, but in reality, moisture enters and behaves differently depending on the source.
Broadly, moisture problems fall into three categories:
- Rising damp
- Penetrating damp
- Condensation
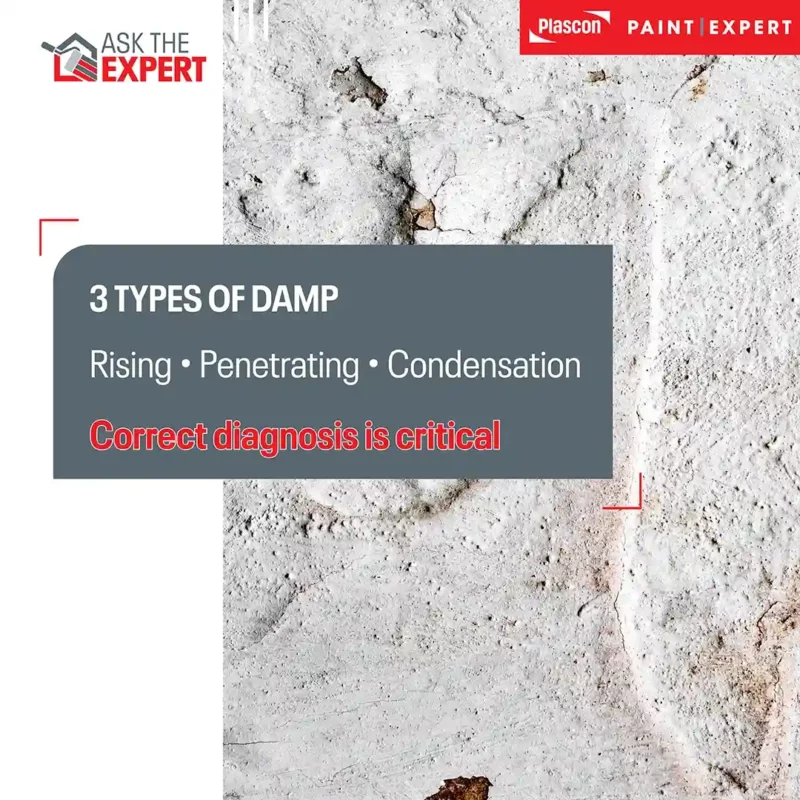
Correct diagnosis matters, because paint is rarely the solution to moisture – and using the wrong system can make the problem worse.
Rising Damp: Moisture Moving Upwards
Rising damp occurs when groundwater moves upward through porous materials like brick and mortar via capillary action.
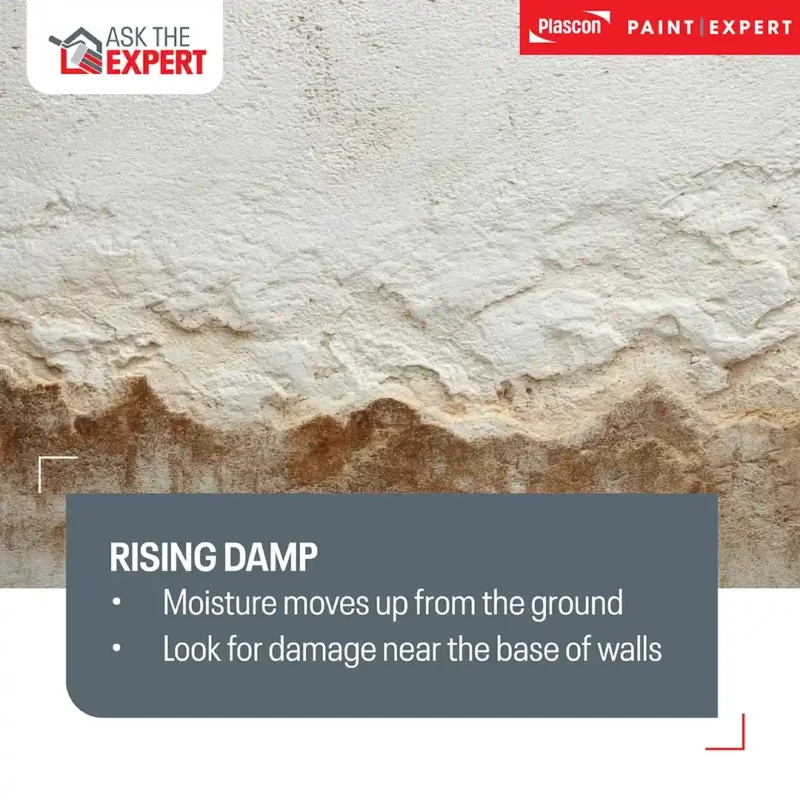
Typical indicators:
- Damp bands at the base of walls
- Peeling or bubbling paint near floor level
- Efflorescence (white salt deposits)
- Persistent damp despite dry weather
Painting over rising damp traps moisture and salts beneath the coating. Failure is inevitable unless the source is addressed.
Key insight:
Paint cannot stop rising damp. At best, it delays visible symptoms.
Penetrating Damp: Moisture Coming Through Walls
Penetrating damp is caused by water entering from the exterior or adjacent wet areas.
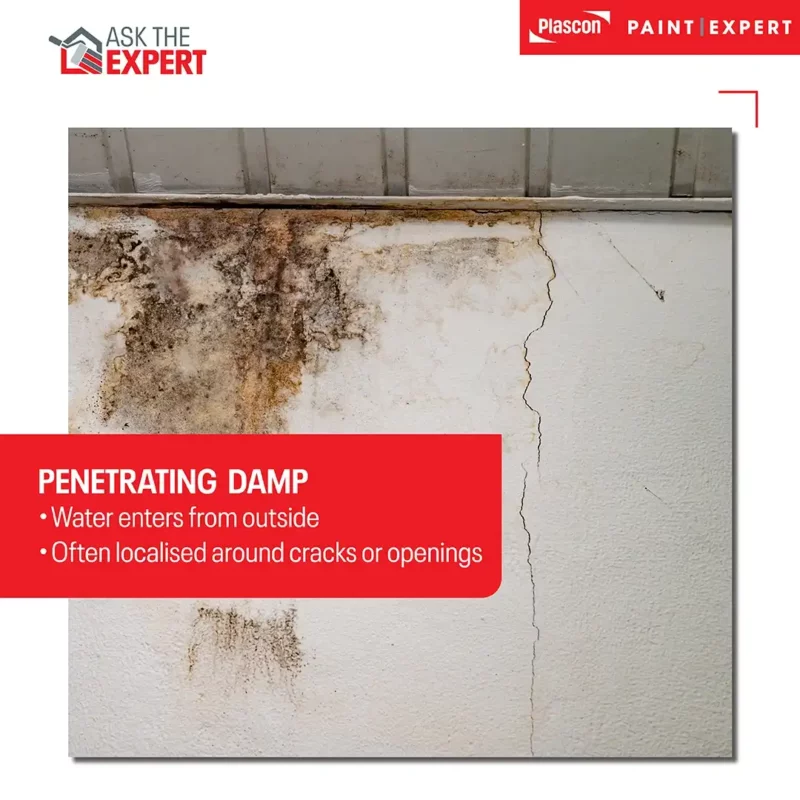
Common sources include:
- Cracked exterior plaster
- Failed waterproofing
- Leaking gutters or downpipes
- Poor detailing around windows and doors
- Boundary walls exposed to rainfall
Penetrating damp often presents as localised failures, which can mislead homeowners into thinking the paint itself is defective.
Condensation: Moisture From the Inside Out
Condensation is one of the most common issues in:
- Bathrooms
- Kitchens
- Bedrooms
- Poorly ventilated homes
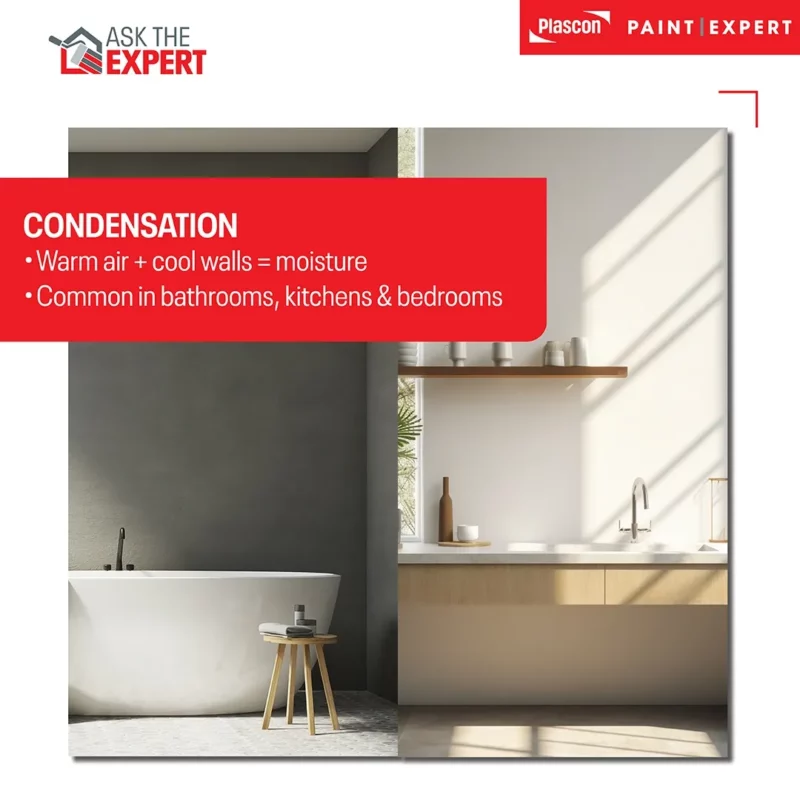
Warm, moist air condenses on cooler wall surfaces, leading to:
- Mould growth
- Paint discolouration
- Gradual adhesion loss
Condensation is frequently misdiagnosed as rising damp, leading to unnecessary treatments.
Important distinction:
Condensation is an environmental issue, not a structural one – and requires ventilation and moisture management, not heavier paint systems.
Why Painting Damp Surfaces Always Fails
Moisture Tries to Escape
When paint is applied over a damp substrate, moisture continues to move. As it does, it creates pressure beneath the coating film.
This results in:
- Blisters filled with vapour or liquid
- Loss of adhesion
- Salt migration through the coating
- Accelerated breakdown of the paint film
Even coatings marketed as “tough” or “washable” cannot withstand constant moisture pressure.
Moisture Testing: Why Guessing Is Not Good Enough
The Limits of Visual Inspection
Visual cues such as staining or bubbling only appear after damage has occurred. At that point, the coating system is already compromised.
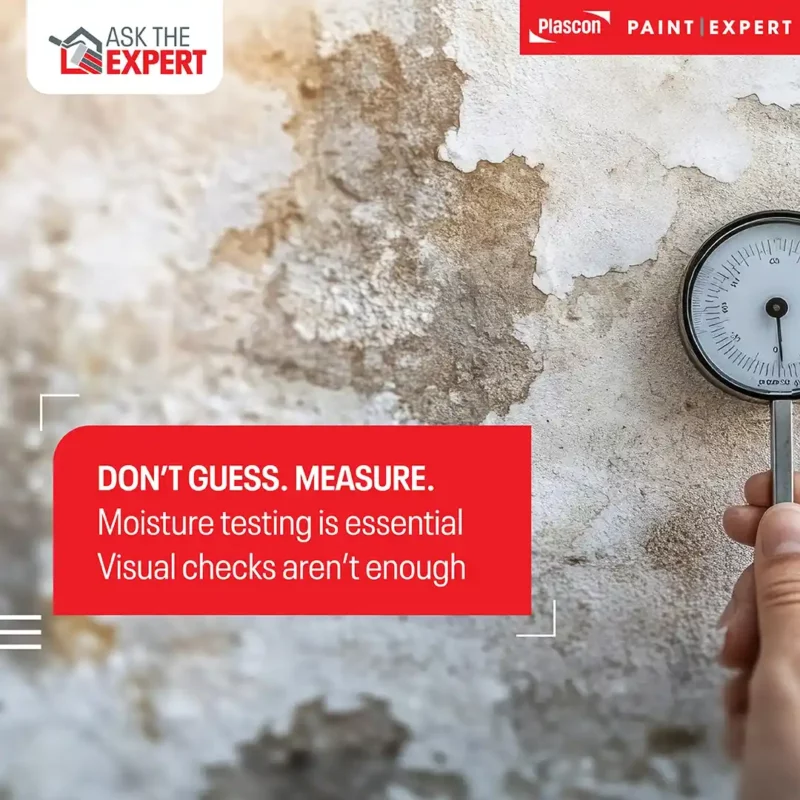
Professional best practice requires measurement, not assumption.
Moisture Meters: What They Do (and Don’t Do)
Moisture meters provide an indication of moisture presence within a substrate.
They are used to:
- Confirm whether a surface is suitable for painting
- Compare moisture levels across areas
- Identify patterns consistent with damp sources
However, moisture meters:
- Do not diagnose the cause of damp
- Provide relative readings, not absolute certainty
- Must be interpreted with experience
Expert insight:
Moisture readings must always be interpreted in context – construction type, weather, location, and recent rainfall all matter.
Step-by-Step: How to Use a Moisture Meter (Walls, Plaster, Masonry)
Before you start: know what type of meter you have
Most consumer and trade moisture meters fall into one of two types:
Pin-type meter (two pins that contact/penetrate the surface): good for comparative readings; can mark surfaces slightly.
Pinless meter (flat sensor pad): faster scanning; great for mapping damp areas, but can be influenced by surface density and finishes.
If you’re not sure which you have, look for pins (pin-type) or a flat sensor plate (pinless).
Step 1: Choose the right wall zones to test
Don’t test only where paint is failing. Test a pattern so you can see the story.
Use this simple mapping approach:
- Base of wall (0–300mm from floor)
- Mid-wall (about chest height)
- High wall (near ceiling line)
- Corners (often cooler = condensation-prone)
- Around openings (windows/doors can indicate penetrating damp)
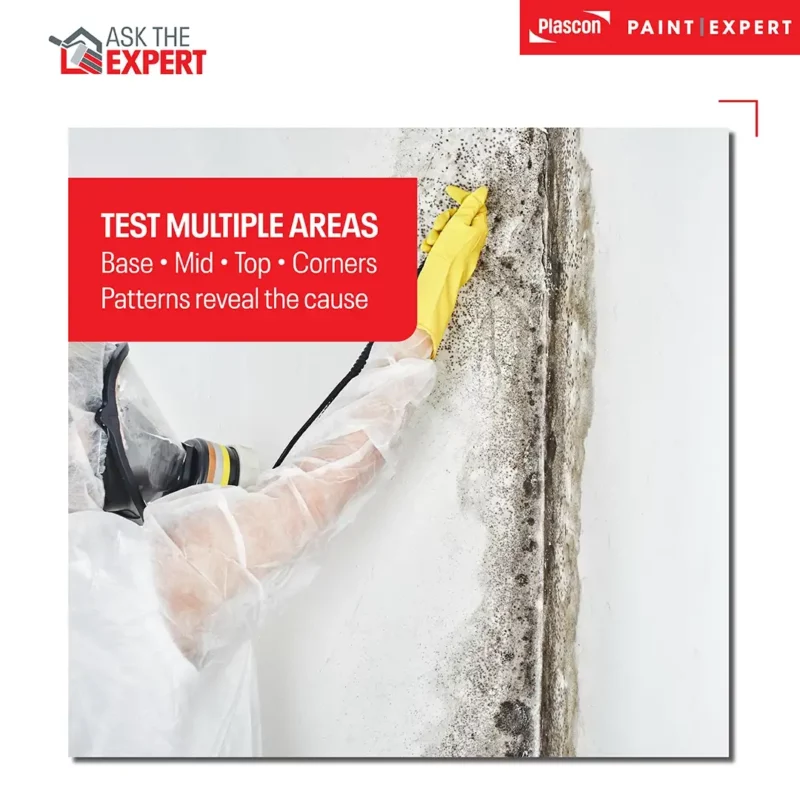
Pro tip: If the damp is worst at the bottom and reduces upward, that pattern can suggest rising damp. If it’s localised near a window or one patch, penetrating damp is more likely. If it’s in corners or behind furniture, condensation becomes a strong suspect.
Step 2: Prepare the test surface
For the most consistent readings:
- Wipe off obvious surface water or condensation (you’re testing substrate moisture, not droplets).
- Remove loose dust or chalk (it can skew contact-based readings).
- If possible, test on a bare or lightly coated section (heavy coatings can affect how readings present).
Step 3: Check your meter settings (if available)
Some meters allow selection of substrate type (e.g., “masonry”, “plaster”, “wood”).
If yours has modes, select the closest match to plaster/masonry.
If it has no modes, that’s fine – you’ll use it primarily for comparative diagnosis (dry area vs suspect area).
Step 4: Take readings correctly
If you’re using a pin-type meter:
- Press pins firmly against the wall (some models require shallow penetration).
- Hold steady until the reading stabilises.
- Repeat in the same spot once more (consistency check).
- Move 150–300mm and repeat (build a “moisture map”).
If you’re using a pinless meter:
- Place the sensor pad flat against the wall (full contact matters).
- Hold steady 2–5 seconds (or until it locks).
- Slide slowly across the surface to locate “hot spots”.
- Once you find a high area, stop and take a fixed reading.
- Repeat at different heights to identify patterns.
Important: Don’t “hunt” for one reading. You’re building a pattern across the wall.
Step 5: Create a simple moisture map (highly recommended)
Use painter’s tape and a marker:
- Put a small piece of tape at each test point
- Write the reading on the tape
- Take a photo
This is extremely helpful for:
- Comparing before/after drying
- Showing a contractor/damp specialist
- Avoiding guesswork when you return to re-test
Step 6: Re-test over time to confirm if moisture is active
One reading is a snapshot. Diagnosis comes from changes over time.
Re-test:
- After 24–48 hours
- After rain (if you suspect penetrating damp)
- After several days of dry weather
If the readings stay high or spread, moisture is likely active. If they reduce steadily with ventilation/time, condensation or residual moisture may be the driver.
Step 7: Interpret readings responsibly (don’t overpromise certainty)
Most non-lab moisture meters are best used to:
- Compare suspect areas vs “known dry” areas
- Track drying progress
- Identify the shape of damp (bottom-up vs localised vs corner-heavy)
They typically cannot:
- Prove the exact damp type on their own
- Replace proper damp inspection
- Give universally reliable absolute thresholds across all plasters/masonry systems
Best practice: Always compare to a “control” area (a wall you believe is dry) in the same home/building.
Practical “Do Not Do This” Notes (Prevents false readings)
- Don’t test immediately after washing the wall.
- Don’t test over active dripping/standing water and assume it reflects substrate moisture.
- Don’t rely on a single point reading.
- Don’t paint “because it seems better today” – re-test and confirm stability.
Acceptable Moisture Levels Before Painting
Different substrates have different tolerance levels for moisture prior to painting.
This Technical Bulletin from Amazon states:
“The generally accepted industry standard for painting plaster, masonry, and concrete is a maximum moisture content of 12% when measured with an electronic moisture meter. Some high-performance coatings or specific applications may require lower thresholds.”
For instance, Plascon Wall & All stipulates:
Maximum moisture content of substrates using a Doser Hygrometer should be equal to or less than:
- Cement Plaster – BD2 Scale < 8%
- Concrete – BD4 Scale < 5%
- Fibre cement – BD2 Scale < 8%
When in doubt, drying time is cheaper than repainting.
Pro Tip: Always check the Technical Data Sheet of the product you are using, to ensure you follow the specific Surface Preparation Instructions and moisture guidelines for that product.
Coastal vs Inland Conditions: A South African Reality
South Africa’s varied climate makes moisture diagnosis especially critical.
Coastal regions:
- High humidity
- Salt-laden air
- Slower drying times
- Increased hygroscopic salt activity
Inland regions:
- Rapid temperature changes
- Summer rainfall patterns
- Seasonal moisture movement in masonry
This is why generic advice often fails – local context matters.
Paint Expert stores are uniquely positioned to provide this contextual guidance based on region and experience.
How Moisture Affects Primers and Coating Systems
Primers are often misunderstood as “problem solvers”.
In reality:
- Primers improve adhesion on suitable surfaces
- They do not block active moisture
- Applying primer over damp surfaces locks in failure
Specialised systems may be required after moisture sources are resolved – but they are never a substitute for diagnosis.
When Paint Is Not the Solution
One of the most valuable services a paint professional can offer is knowing when not to sell paint.
If moisture is active:
- Waterproofing may be required
- Building defects must be repaired
- Ventilation improvements may be needed
Painting too early wastes time, money, and credibility.
For more information on waterproofing, click here to read our article: Solving Real Waterproofing Failures in South African Homes
The Role of Paint Expert Stores in Moisture Diagnosis
Paint Expert stores do more than supply coatings – they provide problem-solving expertise.
This includes:
- Advising when moisture testing is necessary
- Helping identify likely damp sources
- Recommending appropriate next steps
- Specifying systems after moisture is resolved
This consultative approach protects both the consumer and the brand.

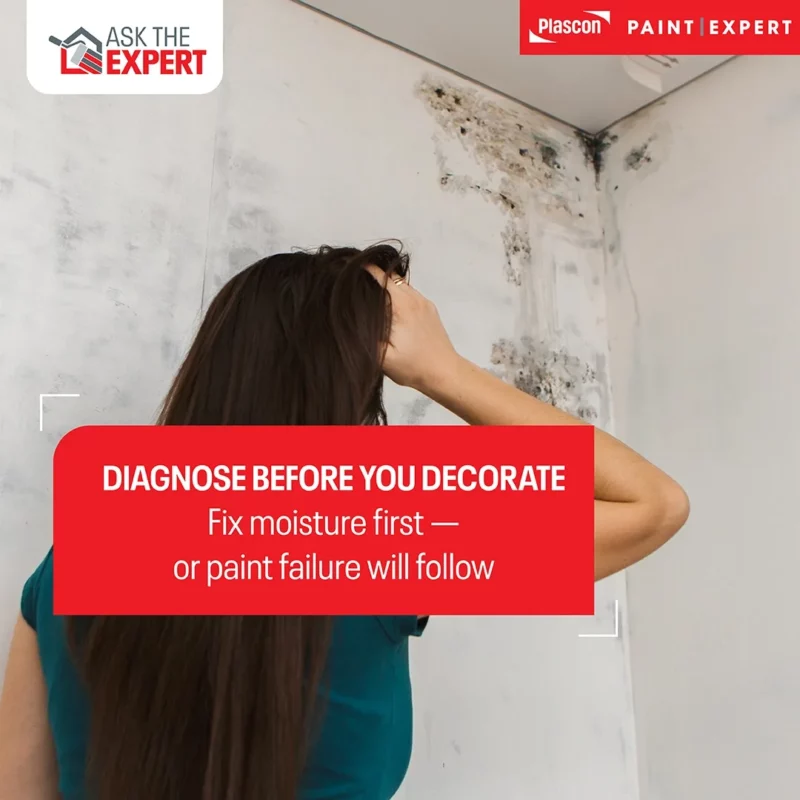
Summary: Diagnose Before You Decorate
Moisture is the most common – and most costly – cause of paint failure.
Correct moisture testing and damp diagnosis:
- Prevent premature coating failure
- Reduce unnecessary repaints
- Protect long-term performance
- Build trust between retailer, contractor, and consumer
Paint performance does not begin with colour selection.
It begins with understanding what’s happening beneath the surface.
FAQs: Moisture Testing & Damp Diagnosis
- Can I paint over slightly damp walls?
No. Even low levels of moisture can cause long-term paint failure.
- How do I know if moisture is causing my paint to peel?
Blistering, salts, recurring mould, and localized failure are strong indicators.
- Are moisture meters reliable?
They are useful diagnostic tools but must be interpreted correctly.
- What moisture level is acceptable before painting?
This depends on the substrate.
- Does exterior paint stop damp?
No. Paint does not stop active moisture ingress.
- Is mould always caused by damp walls?
Often, but condensation and ventilation also play a major role.
- Can primer be used on damp surfaces?
No. Primers are not designed to seal in moisture.
- Why does paint fail more often at the coast?
Humidity, salts, and slower drying times increase moisture-related stress.
- How long should walls dry before painting?
Drying times vary based on conditions and substrate. When unsure, test.
- Who can help diagnose moisture issues properly?
Paint Expert stores can guide diagnosis and recommend next steps.
Disclaimer
This article is intended for general informational and educational purposes only. Moisture issues vary widely depending on structure, environment, and construction method. This content does not replace professional damp assessment or waterproofing advice. Always consult qualified professionals before applying coatings to moisture-affected surfaces.