Quick Answer
Box wall moulding can be installed on a South African plastered brick wall using carefully measured timber mouldings and a suitable construction adhesive. The best results come from preparing and painting the wall first, planning the entire layout before cutting, sealing every visible gap and then painting the moulding to match the wall.
How DIY with Elle created an elegant box-moulding feature wall
Box wall moulding adds architectural detail to an otherwise plain room. It can make a flat wall feel more considered, create structure around furniture and artwork, and introduce character without the disruption of major building work.
Many tutorials found online demonstrate installation on American or European drywall. South African homes are more commonly built with plastered brick walls, which changes the fixing method. Instead of relying on lightweight wallboard and nail guns, this project uses a suitable construction adhesive to secure the moulding to a sound, previously painted plaster surface.
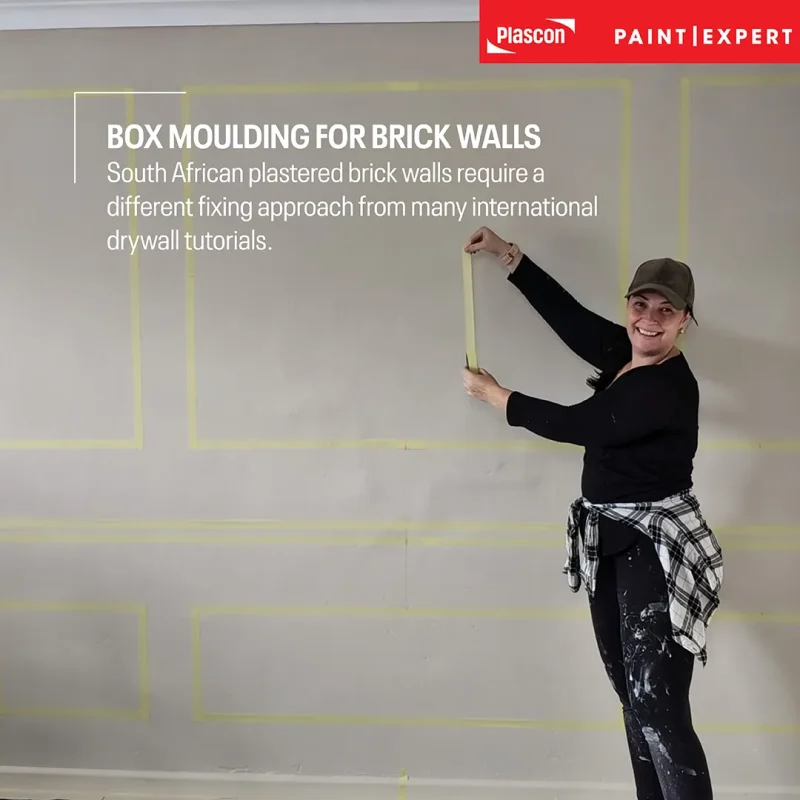
For this three-part DIY with Elle project, DIY content creator Elle transformed a plain interior wall using 19 mm pine half-round mouldings, Plascon Easy Living Multi-Surface Sheen tinted to True Ivory, and Hamilton’s painting tools and protective accessories.
The finished wall is subtle rather than ornate. A warm neutral colour, evenly spaced moulding boxes and restrained décor work together to create a feature that feels elegant and balanced.
Start with a design plan, not a length of timber
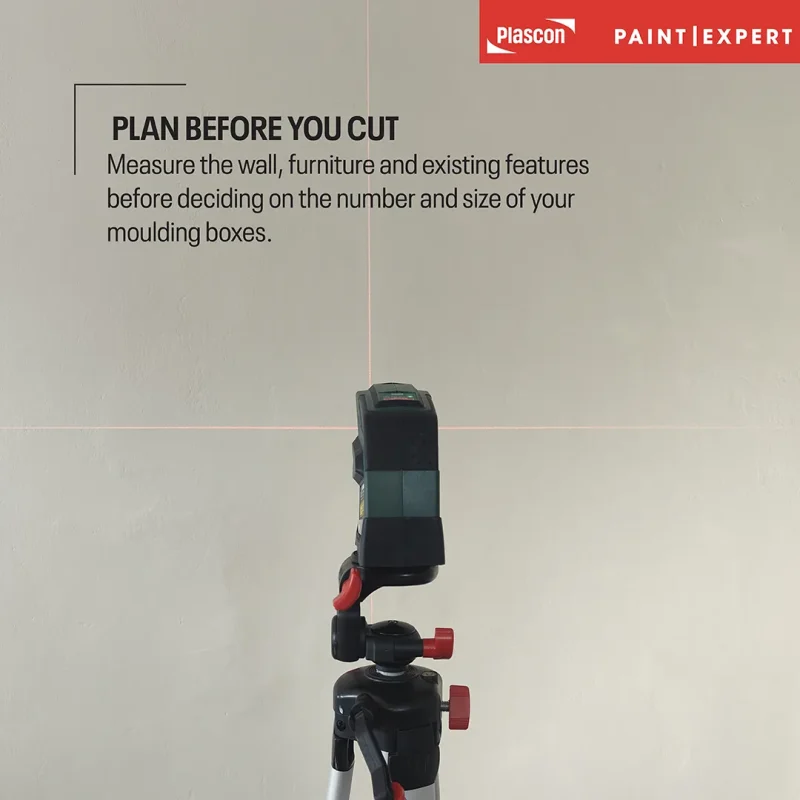
A successful box-moulding wall begins with the layout. The dimensions of the room, the position of the furniture and the features already on the wall should guide the design.
Elle started with a mood board and tested several neutral paint shades before choosing True Ivory from the Paint Club Bespoke Colour Collection. True Ivory is tinted into Plascon Easy Living Multi-Surface Sheen and is available exclusively from authorised Plascon Paint Expert stores.
Planning the colour and final styling at the beginning helps avoid a common problem: installing mouldings that look attractive on an empty wall but compete with the furniture, artwork or wall lights once the room is complete.
What should be included in the plan?
Record the total width and height of the wall, as well as the positions of:
- Skirting boards
- Cornices
- Doorways and windows
- Plug points and switches
- Existing wall lights
- Furniture and artwork
- The proposed dado rail
- Each individual moulding box
The measurements for this project cannot simply be copied onto another wall. Every room has different proportions, and even walls that appear similar may contain slight variations.
Expert Insight: Decide where the eye should rest. In this project, the console table, framed artwork and wall sconces form the main composition, so the moulding layout needs to support that arrangement rather than divide it awkwardly.
Prepare the plastered brick wall properly
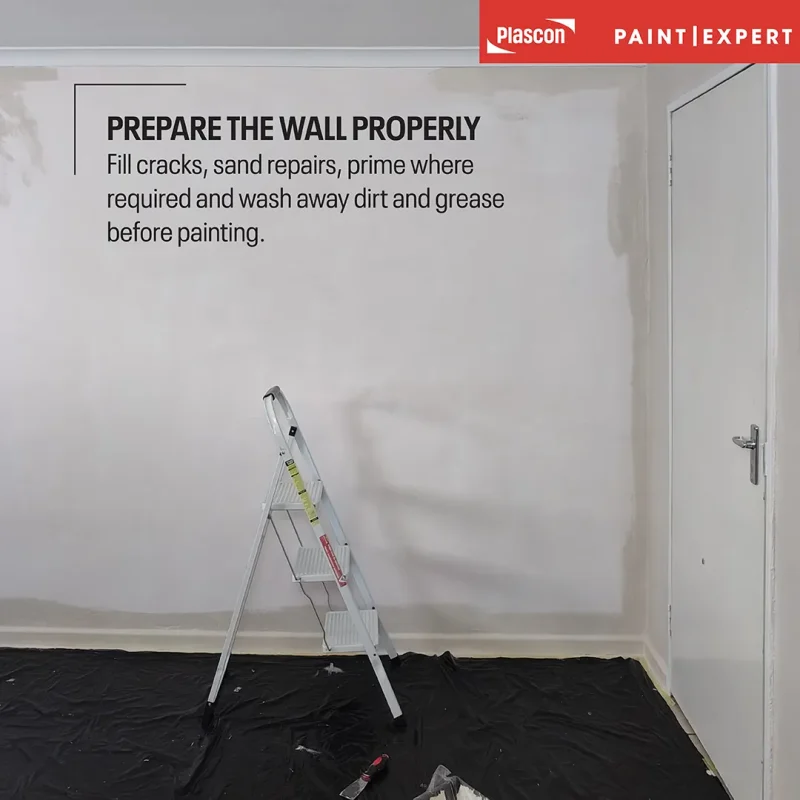
A decorative feature wall will draw attention to its surface, including any defects. Cracks, poorly filled holes and uneven repairs often become more visible once the moulding creates straight reference lines across the wall.
Elle’s wall was a previously painted plastered brick wall in sound condition. Cracks were filled, sanded smooth and primed. The surface was then washed with sugar soap, rinsed to remove cleaning residue and allowed to dry fully before painting.
The Plascon Easy Living Multi-Surface Sheen Technical Data Sheet requires surfaces to be dry, sound and free from dust, dirt, grease and oil. For previously painted surfaces in good condition, loose or flaking material must be removed, contaminants and chalked material cleaned away, and bare or repaired areas primed with the appropriate primer.
Common Mistake: Painting directly over sugar-soap residue can affect the coating system. After cleaning, rinse the wall thoroughly with clean water and allow it to dry.
If the existing paint is peeling, powdery or poorly bonded, the wall needs more extensive preparation before the decorative work begins. Moulding should never be used to disguise an unsound substrate.
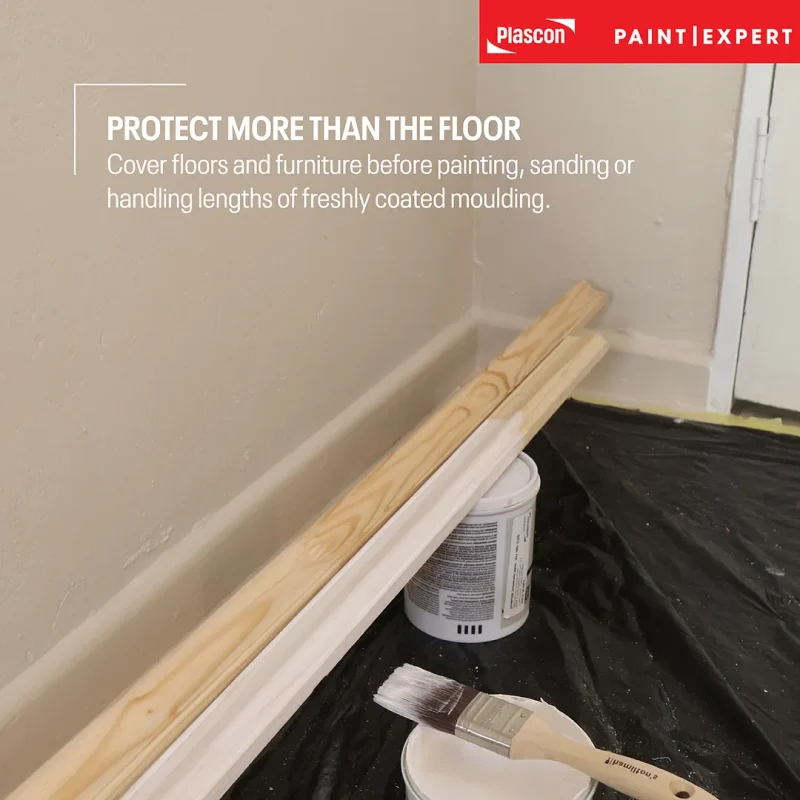
Protect the room before painting
Preparation includes protecting everything that should remain paint-free. Even a controlled interior project can create splashes, sanding dust and accidental spills.
Elle used two Hamilton’s protective products:
- Hamilton’s Supa-Soaka Absorbent Fleece, 1 m × 5 m: suitable for protecting the working area and absorbing minor paint splashes.
- Hamilton’s Heavy-Duty Plastic Drop Sheet, 2 m × 5 m, 100 micron: useful for covering furniture, flooring or larger areas exposed during the project.
Remove small furniture where possible. Larger pieces can be moved away from the wall and covered securely. Tape protective material down where movement could create a trip hazard.
Practical Tip: Extend the protected area beyond the immediate base of the wall. Roller spray, dropped tools and lengths of freshly painted moulding do not always remain within the expected working zone.
Paint the wall before installing the moulding
Painting the full wall first creates a consistent background and makes it easier to achieve neat coverage around the eventual moulding layout.
Elle cut in around the wall’s edges with the 38 mm Hamilton’s Perfection Ensign Angled Brush. The angled shape provides control around edges and corners, while the synthetic tapered-tip bristles are designed for high paint loading and a smooth, streak-free finish. According to Hamilton’s supplied product information, the brush is suitable for both water- and solvent-based paints and wood treatments.
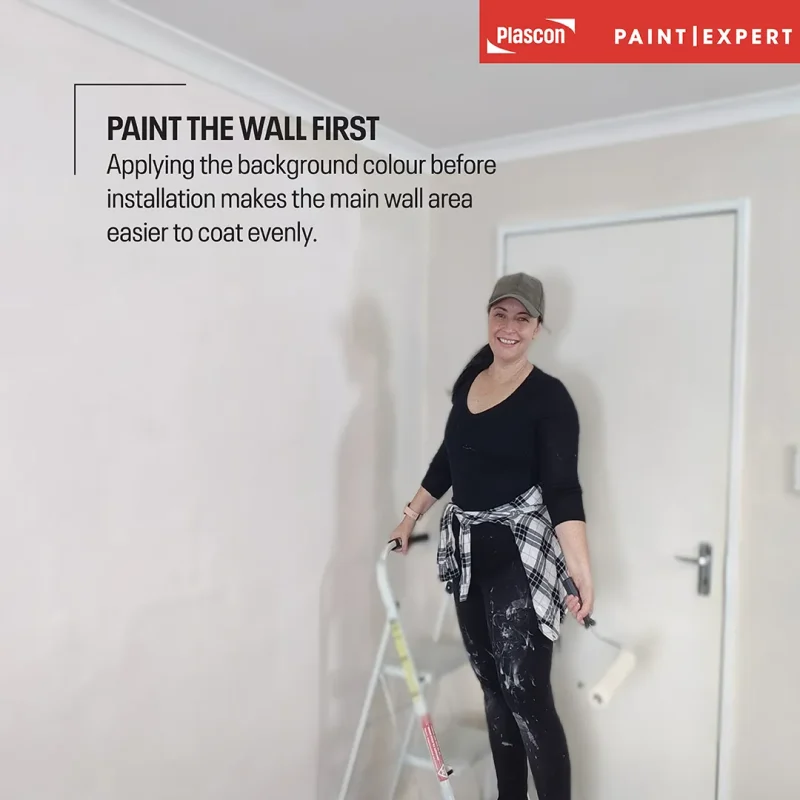
The main wall area was painted using the Hamilton’s Premium Interior Trayset. This set is intended for water-based coatings on smooth walls and ceilings and includes:
- A 225 mm Polypile roller
- A 50 mm utility brush
- A 2 m × 3 m drop sheet
- 24 mm masking tape
- A paint tray
The roller’s polyester weave is designed to absorb and release paint effectively, while the thermo-bonded construction helps prevent shedding and unwinding.
Elle applied two coats of Plascon Easy Living Multi-Surface Sheen tinted to True Ivory. Plascon describes Easy Living Multi-Surface Sheen as a durable, washable acrylic coating with a low-sheen appearance, good obliteration and easy-cleaning properties. The current Plascon product page lists a practical spread rate of approximately 9 m² per litre, while actual coverage will vary with the surface, colour, tools and application technique. Follow the latest product instructions when calculating quantities and recoating times. https://paintexpert.co.za/product/plascon-easy-living-sheen-5l/
Best Practice: Stir the paint thoroughly before use and do not thin it unless the current manufacturer instructions specifically permit this. Paint from one natural stopping point to the next to reduce visible lap marks.
Calculate the box-moulding layout
Accurate spacing is what makes box moulding look intentional. Small errors become increasingly obvious when repeated across a wall.
Begin by deciding where the horizontal dado rail will sit. This rail creates a visual division across the wall and provides a reference line for the moulding boxes above or below it.
Next, calculate:
- The usable wall width.
- The required margins at both ends.
- The number of boxes.
- The width of the gaps between boxes.
- The height and width of each box.
- The relationship between the boxes and the furniture below them.
Measure the actual wall at several points. Plastered brick walls are not always perfectly square, even when they appear straight.
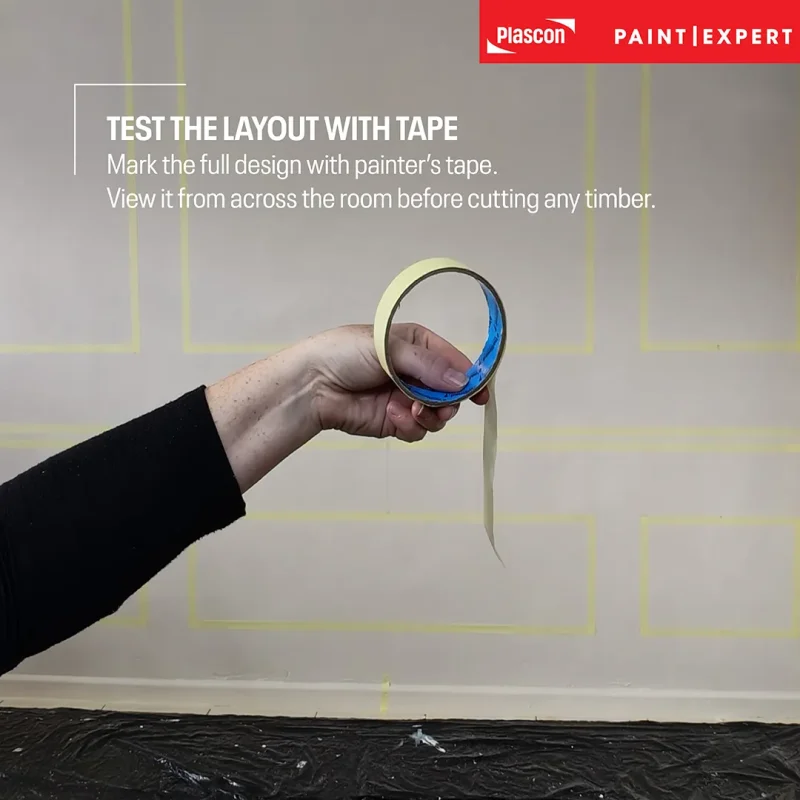
Use quality painter’s tape to mark the proposed dado rail and box outlines directly on the wall. Step back and view the layout from different positions in the room before cutting any timber.
Practical Tip: Live with the taped layout for a few hours. Check it in daylight and under artificial lighting, with the furniture in position. Moving a strip of tape is considerably easier than removing glued timber.
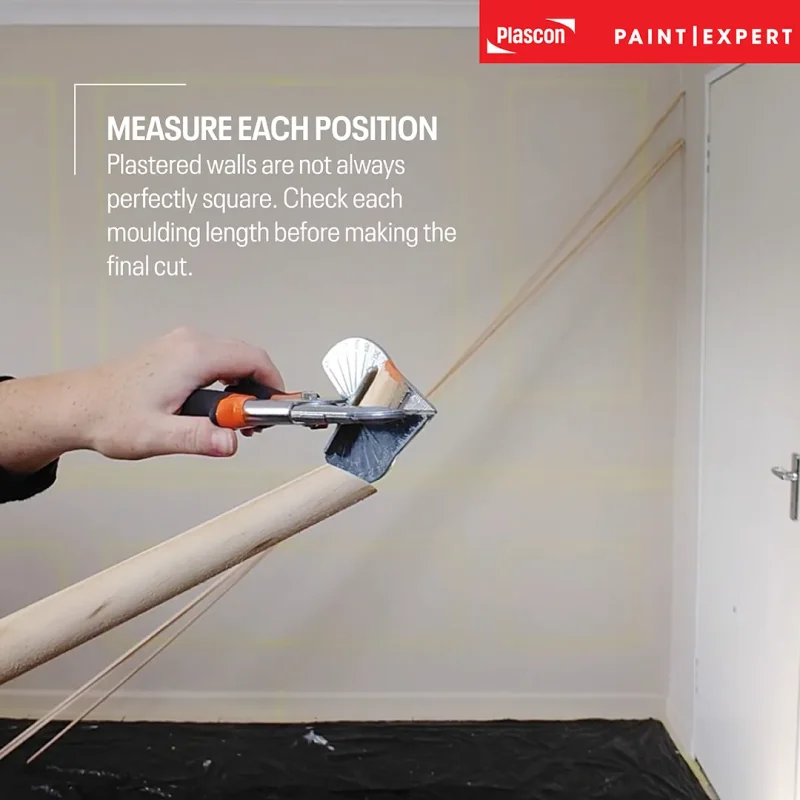
Cut the timber moulding accurately
Elle used 19 mm pine half-rounds to create the decorative rectangles. Each piece was measured individually and cut with 45-degree mitred ends so the corners could meet cleanly.
Treat the cutting list as a guide, but check each position before making the final cut. Slight variations in the wall or previous measurements can affect the fit.
Label the back of every piece according to its location. For example, “Box 1 – top” or “Box 2 – left” avoids confusion once several similar lengths have been prepared.
Wear suitable eye protection when cutting and respiratory protection when sanding. Work on a stable surface and follow the operating instructions for the selected cutting tools.
Common Mistake: Cutting every component from one theoretical measurement can produce inconsistent joints. Measure twice, test the first complete box and only then continue with the remaining pieces.
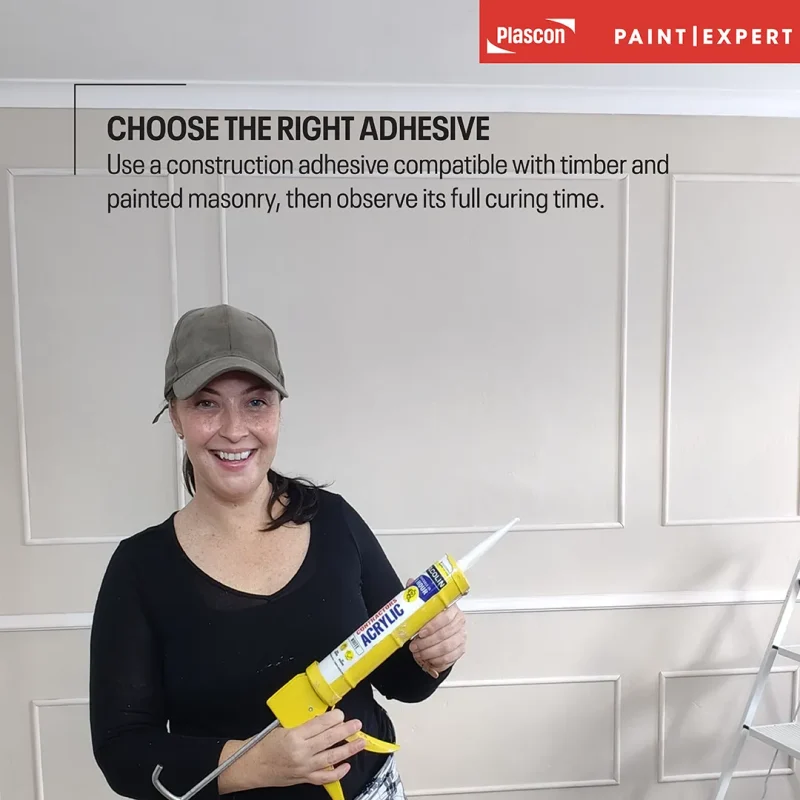
Fix moulding to a plastered brick wall
On a sound plastered brick wall, lightweight decorative moulding may be installed using a suitable construction or mounting adhesive, provided the adhesive is compatible with painted masonry and timber.
Apply the adhesive according to its manufacturer’s instructions. Position each moulding length against the marked line, check it with a spirit level and press it firmly into place. Painter’s tape can hold the timber temporarily while the adhesive cures.
Do not assume that painter’s tape provides structural support. Its purpose here is to limit movement during curing. Observe the adhesive manufacturer’s application quantity, open time, curing period and weight limitations.
Electrical wires and pipes may be concealed within a plastered brick wall. If the project requires drilling or mechanical fixings, check for hidden services and seek qualified assistance where necessary.
Expert Insight: Install and check one complete box before proceeding across the wall. This provides an early opportunity to correct the angle, spacing or visual proportions.
The low-sheen coating also gives the surface a practical, washable finish suitable for an interior feature wall.
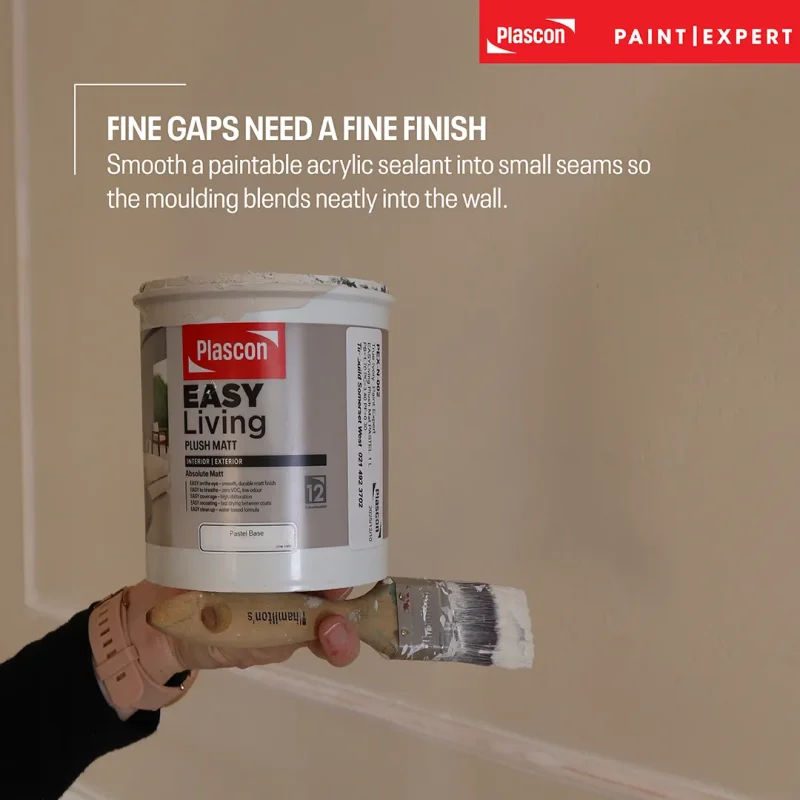
Prime, seal and paint the moulding
Once the moulding is firmly fixed, the finishing work determines whether it appears integrated with the wall or added as a separate strip of timber.
Elle primed the pine moulding and then used a generic paintable acrylic sealant to fill fine joints, seams and small gaps where the timber met the wall. Easy Living Total Prime can be used to prime the timber, subject to the current product instructions and surface-preparation requirements.
Apply sealant sparingly and smooth it before it skins. Thick or uneven beads can remain visible beneath the final paint finish. Larger structural gaps should not simply be hidden with sealant; they may indicate that a component has been measured, cut or installed incorrectly.
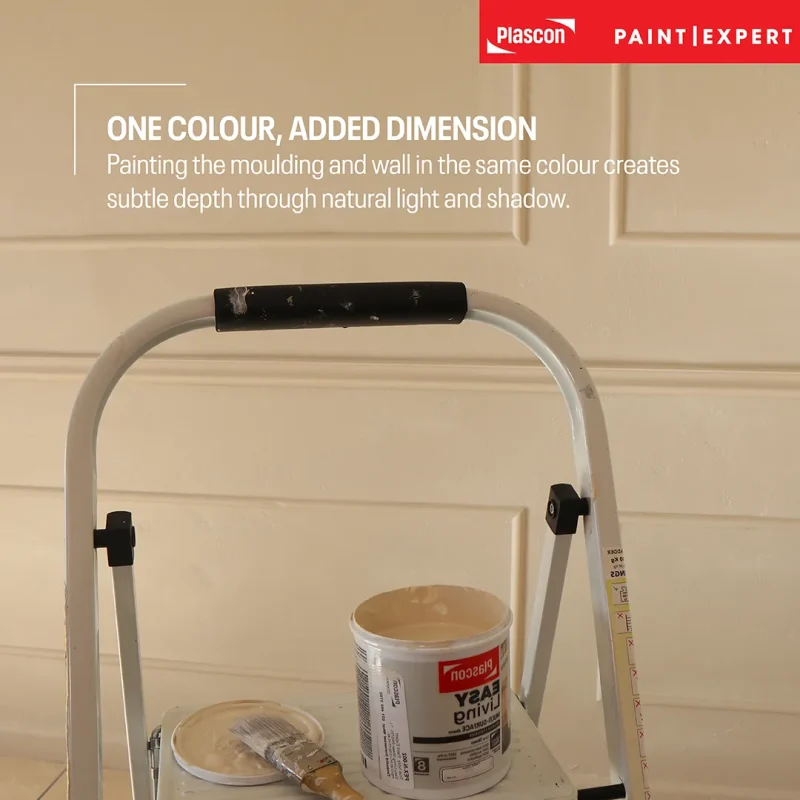
Once the primer and sealant were fully dry, Elle applied two coats of Plascon Easy Living Multi-Surface Sheen in True Ivory to the moulding. Painting the trim in the same colour as the wall creates a unified, architectural finish. The low-sheen coating also gives the surface a practical, washable finish suitable for an interior feature wall.
Some tinted colours may require more than two coats for complete obliteration. Assess the dried finish rather than assuming that a fixed number of coats will suit every colour and surface.
Plascon Easy Living Multi-Surface Sheen Product Page
Style the completed feature wall
Box moulding works best when the styling respects the proportions created on the wall. Oversized accessories can obscure the detail, while too many small items may make the composition feel busy.
Elle styled the finished wall with battery-powered brass sconces, framed landscape artwork, a wooden console table, a plant and a neutral rug. The warm metallic finish and natural timber complement True Ivory without overpowering it.
Battery-powered sconces provide the visual effect of fitted wall lighting without requiring new electrical wiring. They should still be installed in accordance with the product manufacturer’s instructions.
The restrained palette allows the geometry of the moulding to remain visible. It also gives the room flexibility: artwork, plants and decorative objects can change over time without requiring the feature wall to be redesigned.
Practical tips for a better box-moulding finish
Tip 1: Test your paint colour in the actual room
View the sample at different times of day and beside the permanent flooring, curtains and furniture. Warm and cool light can change the way a neutral appears.
Tip 2: Plan around furniture
Use the console, bed, sofa or dining table as part of the composition. Avoid placing a moulding joint directly behind the centre of a key piece unless that alignment is intentional.
Tip 3: Tape the full design before cutting
Painter’s tape provides a useful visual preview. Check the height, spacing and balance from across the room.
Tip 4: Label every piece
Numbering the timber prevents similar-looking sections from being installed in the wrong positions.
Tip 5: Check level repeatedly
Do not rely only on ceilings, cornices or skirting boards as reference lines. Existing buildings may contain small variations.
Tip 6: Allow products to dry and cure properly
Paint, primer, sealant and adhesive perform different jobs and require different drying or curing periods. Follow the current instructions for each product.
Tip 7: Keep the final sealant bead fine
A narrow, smoothly finished bead creates a cleaner junction between the moulding and wall.
Common box-moulding mistakes
Copying measurements from another project
Online measurements may suit a different wall, ceiling height or room layout. Calculate the design from the dimensions and visual centre of your own space.
Installing over a dirty or unstable coating
Construction adhesive can only perform as well as the surface beneath it. Clean the wall and remove unsound paint before installation.
Cutting before testing the complete layout
An attractive sketch does not always translate perfectly to a full-size wall. Mark the design with tape and assess it from across the room first.
Ignoring imperfect walls
Plastered masonry may vary slightly. Measure individual positions and use a spirit level rather than assuming every corner is perfectly square.
Using a non-paintable sealant
Some sealants resist paint or cause poor adhesion. Select a paintable acrylic sealant that is suitable for the materials and intended environment.
Rushing the final coats
Painting before adhesive, primer or sealant has dried can disturb joints and spoil the finish. Follow each manufacturer’s stated waiting periods.
Key takeaways
- South African plastered brick walls require a different fixing approach from many drywall-based international tutorials.
- Prepare the existing coating carefully before painting or attaching moulding.
- Paint the wall first to establish an even background.
- Calculate the box sizes and spacing for the specific wall.
- Mark the full design with painter’s tape before cutting.
- Use accurate 45-degree cuts for clean mitred corners.
- Choose an adhesive suitable for timber and painted masonry.
- Prime the pine and use paintable acrylic sealant for fine joints and gaps.
- Paint the moulding in the wall colour for a cohesive architectural effect.
- Use appropriate Hamilton’s tools and protective coverings to support a neat working process.
Frequently Asked Questions
Can box moulding be installed on a brick wall?
Yes. Decorative timber moulding can be attached to a sound, plastered brick wall with a suitable construction adhesive. The wall coating must be clean and well bonded, and the adhesive must be compatible with both painted masonry and timber.
Do I need to drill into a plastered brick wall?
Lightweight decorative moulding may be installed with a suitable construction adhesive, depending on the moulding weight, surface and adhesive specification. Heavier components may require mechanical fixing and professional advice.
Should I paint the wall before installing box moulding?
Painting first provides a consistent background and simplifies coverage across the main wall area. The installed moulding can then be primed, sealed and painted to match.
What timber can be used for box wall moulding?
Elle used 19 mm pine half-rounds. Other decorative moulding profiles may also be suitable, but their weight, dimensions, finish and compatibility with the selected fixing method must be considered.
How do I calculate the size of the moulding boxes?
Measure the usable wall area, select the number of boxes and subtract the outer margins and gaps. Divide the remaining width evenly, then test the proposed layout on the wall with painter’s tape.
What angle should box-moulding corners be cut at?
Rectangular moulding corners are commonly formed using two 45-degree mitred cuts. Accurate measuring and controlled cutting are essential because even small errors can create visible gaps.
What should I use to fill gaps around wall moulding?
Use a suitable paintable acrylic sealant for fine seams and small gaps between the timber and wall. Confirm that the sealant can be overcoated with the selected paint.
Does pine moulding need to be primed?
Yes. Pine should be properly prepared and primed before the decorative topcoat is applied. Easy Living Total Prime can be used for this project, subject to its current Technical Data Sheet.
Can the moulding and wall be painted the same colour?
Yes. Using one colour across the wall and moulding creates a cohesive finish while allowing light and shadow to emphasise the raised detail.
Where is True Ivory available?
True Ivory is part of the Paint Club Bespoke Colour Collection and is available exclusively from authorised Plascon Paint Expert stores nationwide. Find an authorised Plascon Paint Expert store.
Disclaimer
This article provides general guidance based on the featured DIY with Elle project. Wall condition, construction, hidden services and product compatibility vary between homes. Read and follow the latest Technical Data Sheets, Safety Data Sheets and manufacturer instructions for every paint, primer, adhesive, sealant and tool used. Seek qualified assistance if the wall is damp, structurally unsound, contains extensive cracking or requires drilling near concealed electrical or plumbing services.